Tuesday, February 14, 2012

Super Sexy Braided T-Shirt


Hello Friends! Today we making a simple 'braided' T shirt, you don't even need a sewing machine for this project.

What you need:
Form fitting t-shirt
Sharp fabric scissors
Fabric marker
Ruler

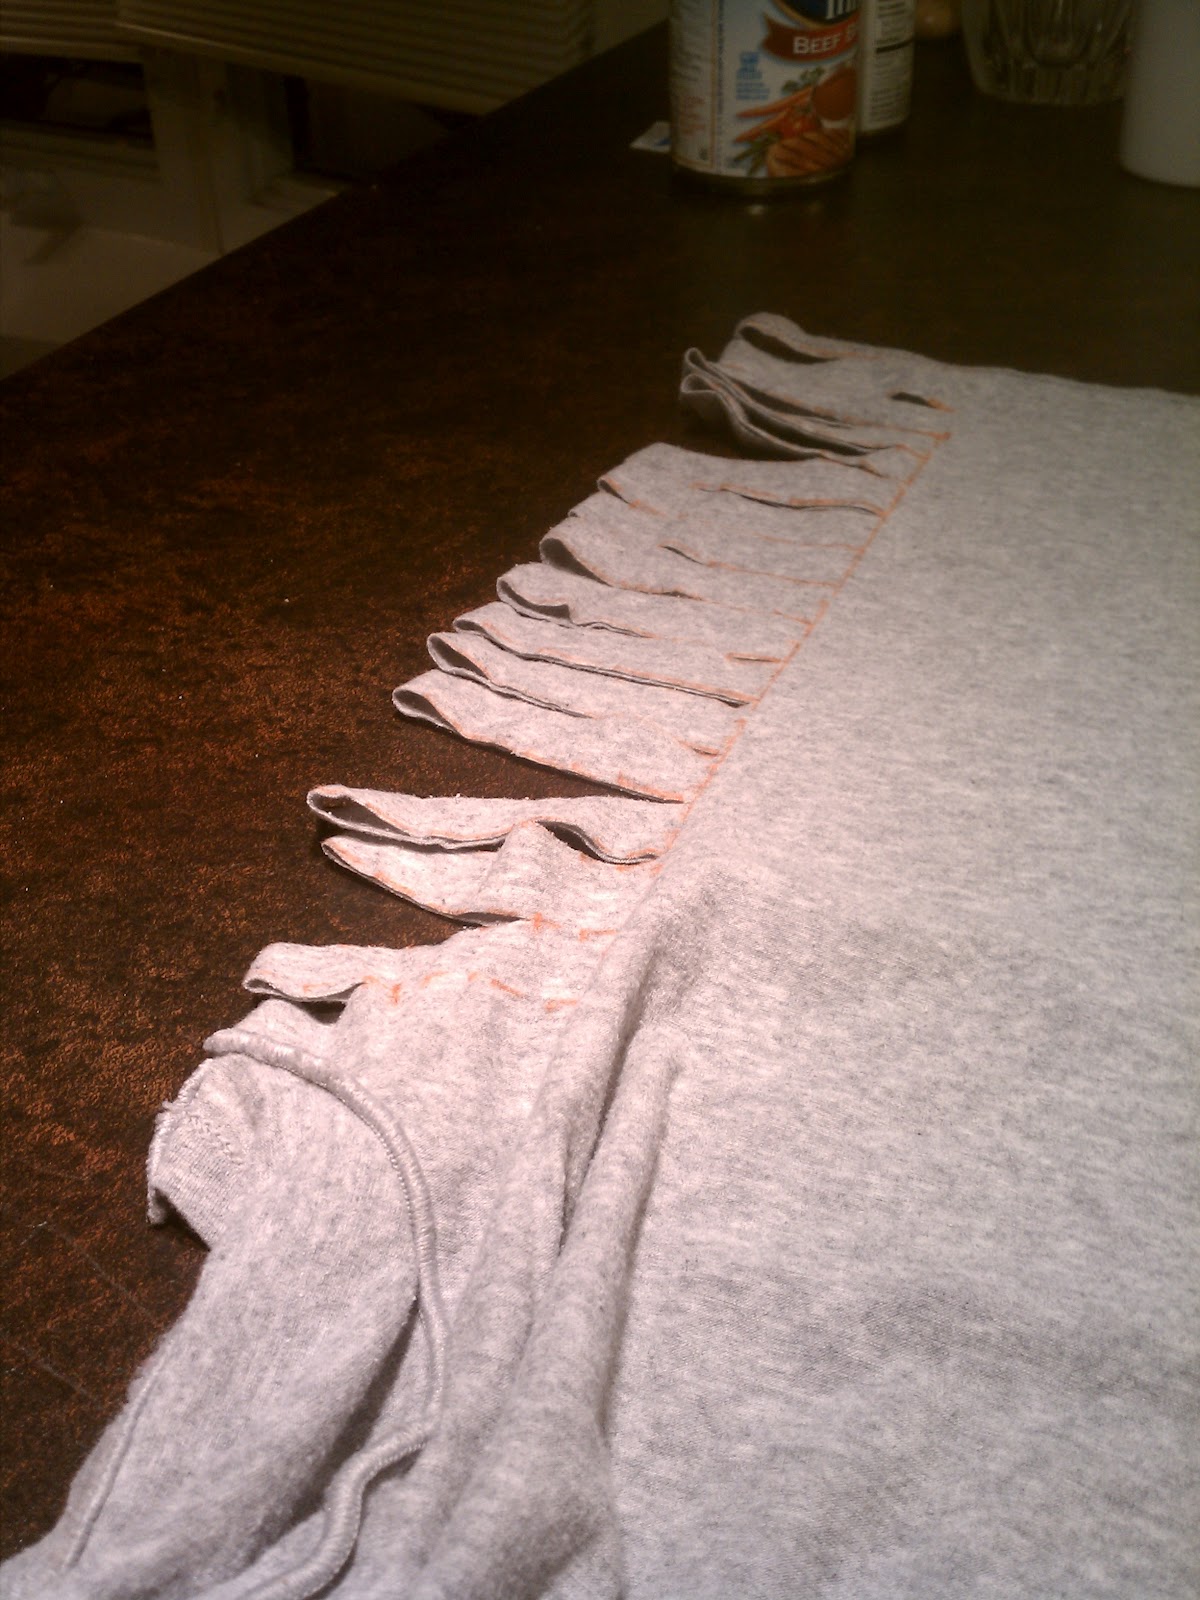
1. Lay your t-shirt on a flat surface. Grab your ruler and your fabric marker and draw out your pattern. Our lines are 3/4" wide and 3" long (so 6" long in total, because the shirt is folded in half)


2. Grab you scissors and cut along the horizontal lines! I only cut the top line 1" in and the 2nd line 2" in, this makes it look like the pattern tapers towards the top of the rib cage.


4. Stretch out each of the strips of fabric, this makes the shirt fall into place nicely when you put it on.


5. Turn the shirt right-side-out and shake it out. Grab the second strip and tuck it behind and through the space over the 1st strip. Take the 3rd strip and tuck it behind and through the space over the 2nd strip. Repeat until you get down to the bottom. This is difficult to explain, but check out the photo here and figure it out! I have faith in you.


This is the 2nd strip woven behind the 1st strip. Now we will grab the 3rd and put it through the 2nd.


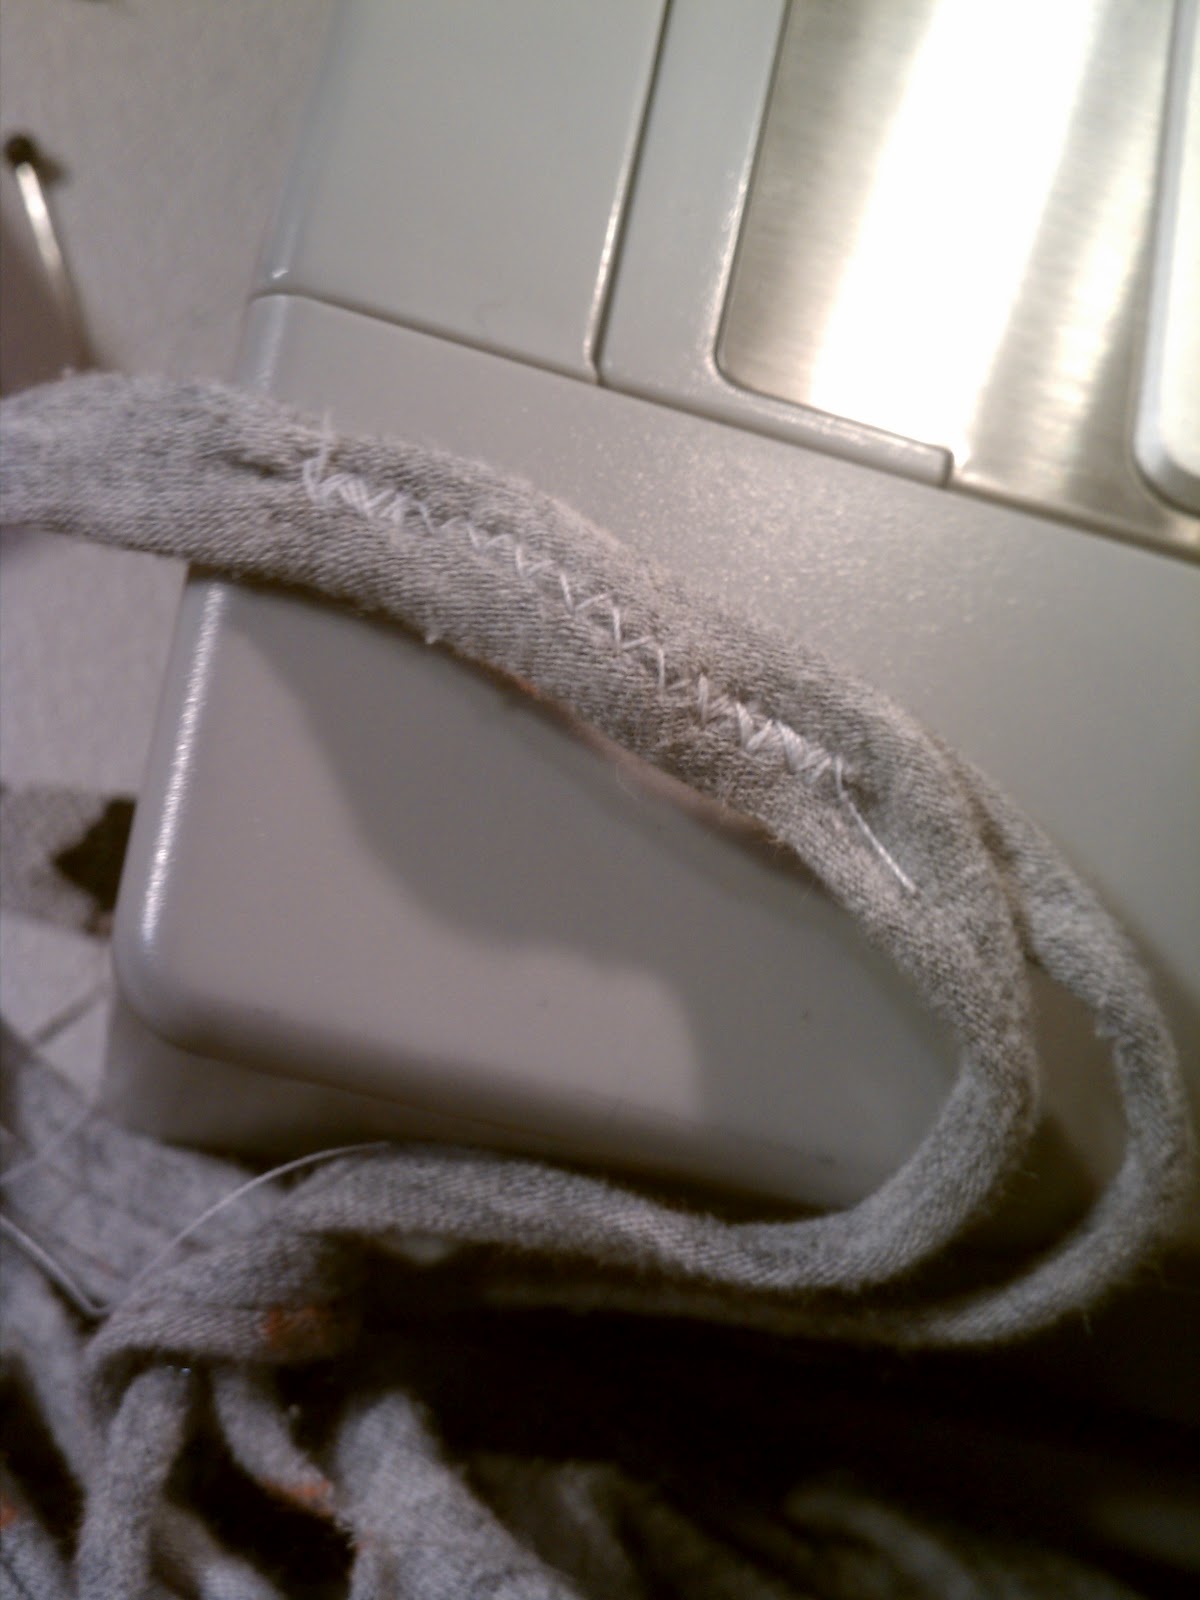
6. Once you get to the Bottom, you can either tie the last two pieces in a knot or sew it like I did! 


Thanks Joshua for helping with this extra special Valentine's Day project :)


Monday, February 13, 2012

Pretty Feather Earrings

Howdy Folks! Today we are making basic feather earrings. They look like hair extensions when worn with longer hair styles, they are super easy to make and I always get a ton of compliments.

Here is the finished product so you can see what you are getting yourself in to:


Supplies:
2 Pairs of small needle nose pliers
Earrings (the part that you put through your ear)  
Chain-link
Jump Rings (O shaped rings)
End-Caps
Feathers

Earrings
Chain-Link
End-Caps
Jump-rings

1. Pick out four  solid color feathers and four smaller feathers to layer. You can choose to use just one feather, but I like the depth and texture of two.

  2. Take your end cap and lay a pair of feathers within the two little metal prongs.


3. Use your pliers to push down the prongs one at a time to secure the end of the feathers in it's grasp. Repeat with all four pairs of feathers.


4. Cut your chain to your desired length. You can obviously choose to have as many or as few feathers as you would like.

5. Take the Jump ring and open it up using one plier in each hand. Put the ring through the top of the Jump ring and then put it through a link on the chain. Close the jump ring so the edges of the circle are smooth and meet up perfectly. Repeat with each feather. Keep them spaced evenly on the chain, with one on the top and one on the bottom!


6. Now add the earring to the top of the chain with the same method that you used for the feathers.

7.  Go nuts and make dozens of pairs to match every outfit!


Thursday, February 9, 2012

Striped Leggies!

Hello friends! I made these leggies for a Christmas outfit, but the colors can be easily swapped out to suit any sort of costume. Black and white would look awesome, or two colors of UV reactive fabric would be great for a black light party!

Final product ^ now for the how-to:

Figure out how long your leg is and how wide you want each of your stripes. My leggies are 25 inches long, so I made them 29 inches of raw fabric to account for the elastic and the hemming. The total diameter of the leggies is 40 inches, they are pretty wide.
Cut your stripes according to your own measurements (you can see mine up there)…. The white stripes are 5 inches wide aside from the top which was 7 to account for the elastic. The red stripes are 3 inches

Sew your stripes, right sides together. Take into account the stretch of the fabric.

Once you have the stripes assembled, turn it inside out and sew it together like so. I did not document the elastic part…but its sort of like making a scrunchie. Sew a seam at the top feed the elastic through. I recommend 1" width.  Then hem the bottom (if you haven't already) according to your own measurements.
Simple simple!

Rainbow Angel Wings


What do you think? They are my colorful creation for an event in NYC, I simply can not wait to bounce around in them all weekend.
Here is what you need to make your very own set of wings:
  • Basic wings from the Christmas Tree Shop or a craft store. OR you could make your own wings from panty hose and coat hangers. I have yet to experiment with this, but I will be sure to post when I come up with an efficient method.
  • A bit of fabric (if you would like to extend the wings beyond the wire)
  • Hot glue gun & glue sticks
  • Lots of feathers
  • Patience
I took a basic set of wings ($2.99 at Christmas Tree Shop), added a small fabric triangle on to the bottom of each of the wings (to give them a better shape) and then I glued on rows of feathers (two rows for each color).


Feathers galore! It it is hard to find the whole spectrum of colors at one craft store. Be prepared to travel the universe if you want to find a rainbow of feathers. Or, just order them online and avoid a meltdown at JoAnne Fabric.

Here are the wings pre-rainbow. Notice the bottom corners of the wings, I extended them by gluing on little triangles of fabric.
I started out with the purple, there are actually only two rows of feathers here. Make sure you pay attention to where the bottoms of the feathers end up.
Now for the blue. As you can see, the amount of purple was cut in half once I covered it with the blue. Again, you want to pick out the right length feathers and pay attention to how they line up.
Green! I started to shift the feathers towards the middle. When I got to the top row I wanted it to look like all of the feathers were coming from the center of the wings.
Here comes the yellow. Thanks for the paparazzi shot, Joshua.
tada! As you can see, I did not plan out the orange and red very well, I would have liked a bigger section of orange. (My 2nd Chakra is bummed) :-)
Love and light!